No products in the cart.


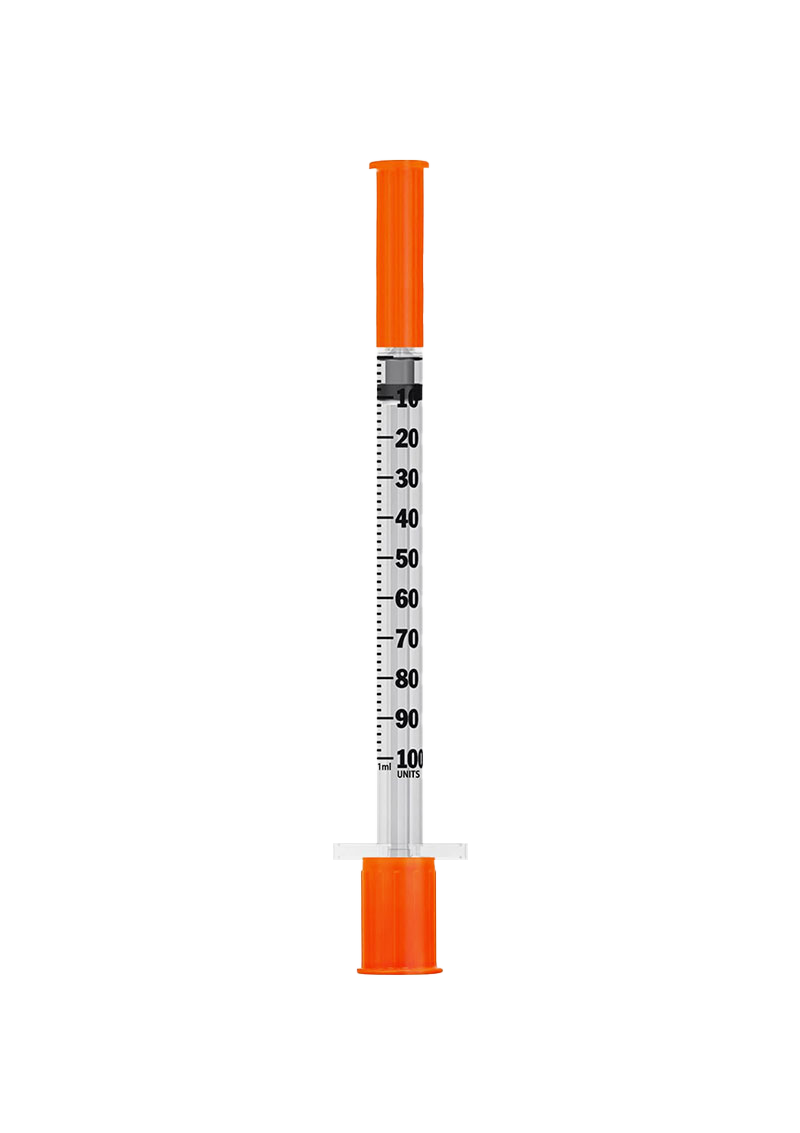
For A MCG Dose, Draw Up To Tick Mark .


These ranges are general, research-use suggestions to help you prepare your peptides. This calculator and recommended doses are not medical advice. Start low, assess tolerance, and adjust cautiously.

For A MCG Dose, Draw Up To Tick Mark .
These ranges are general, research-use suggestions to help you prepare your peptides. This calculator and recommended doses are not medical advice. Start low, assess tolerance, and adjust cautiously.